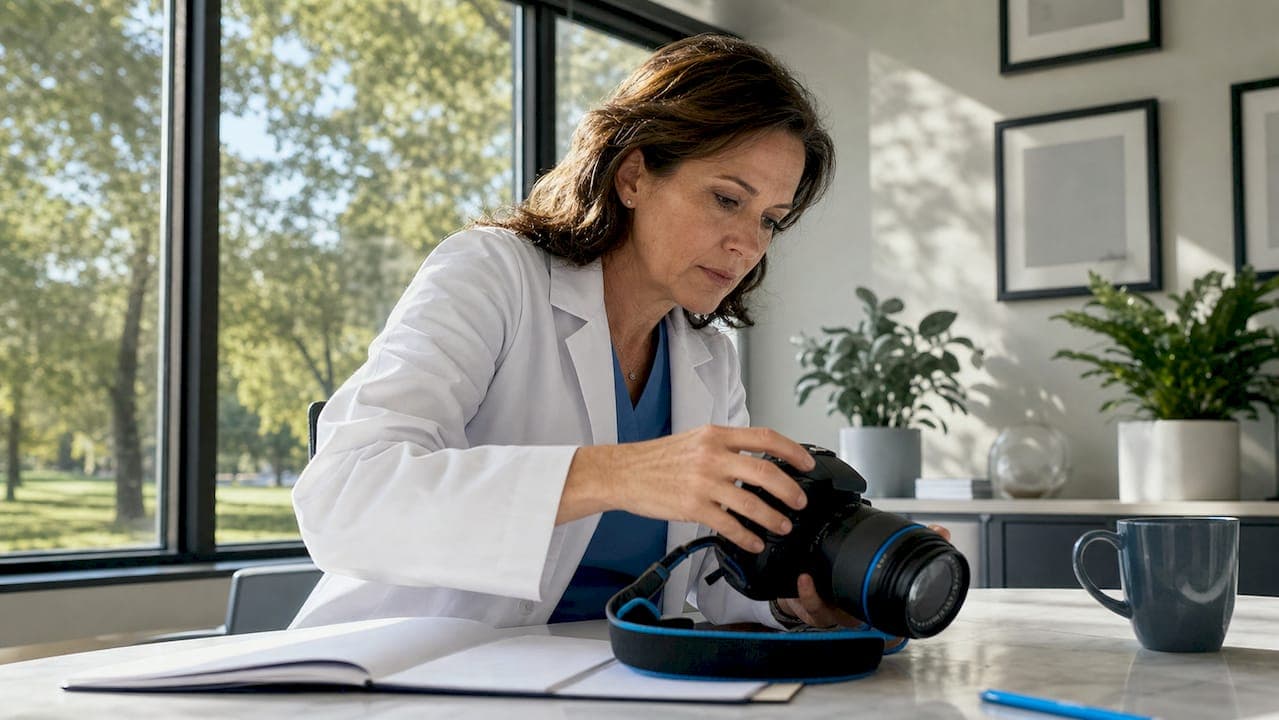
Medical website photography best practices define the visual standards that determine whether a patient books an appointment or clicks away. Your website's photos are the first clinical impression most patients will ever form of your practice. Authentic, well-lit imagery signals competence and warmth before a single word is read. Techniques like patient journey mapping, Color Rendering Index (CRI) lighting audits, and consistent aperture settings are the difference between a site that converts and one that loses trust on contact.
1. What are the essential lighting techniques for medical website photos?
Lighting is the single most controllable variable in medical photography, and most practices get it wrong. Overhead fluorescent fixtures distort skin tones and create harsh shadows that make staff look fatigued and clinical spaces look sterile in the wrong way.
The correct setup uses diffused lighting at 45-degree angles, with two light sources positioned on either side of the subject. This arrangement eliminates unflattering shadows and keeps both the subject's face and surrounding environment in sharp, even focus.
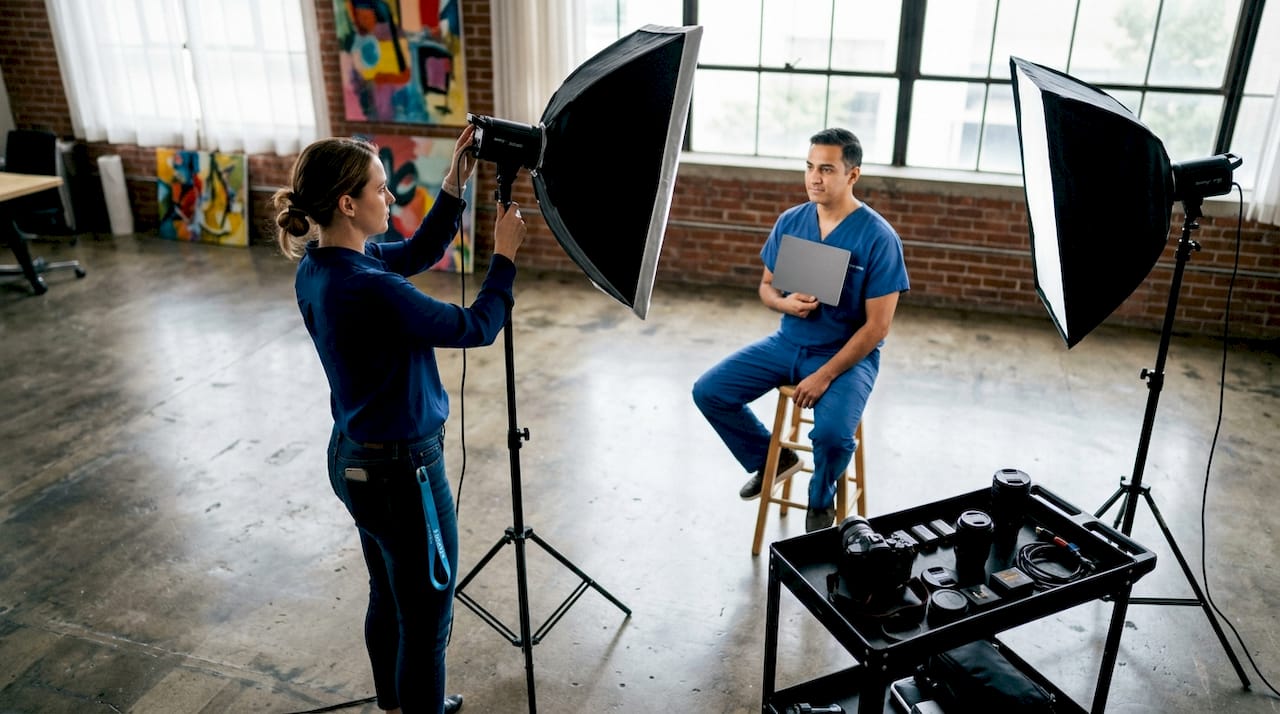
CRI is the metric that separates professional medical photography from amateur attempts. A CRI rating above 90 is the standard for accurate skin tone and clinical detail. Lower CRI lighting makes skin look sallow or gray, which undermines the warmth your practice is trying to project.
A full lighting audit measures ambient light quality, CRI, directionality, and hotspot management before a single photo is taken. Hotspots are bright patches caused by uneven light distribution, and they draw the eye away from your subject. Eliminating them is not optional for professional results.
- Use two softbox or umbrella lights at 45-degree angles to the subject
- Set CRI at 90 or above for accurate color rendering
- Avoid mixing fluorescent ambient light with tungsten or LED supplemental light
- Use portable, sterilizable lighting stands that comply with clinical safety protocols
- Conduct a lighting audit of each room before the session begins
Pro Tip: Bring a gray card to your shoot. Hold it in front of your subject before each new lighting setup and photograph it. Your editor uses that reference to correct white balance accurately across every image in the series.
2. How to curate authentic subject matter that builds patient trust
Stock photos destroy credibility faster than a bad review. Patients recognize generic imagery, and genuine expressions during routine interactions convert better than magazine-style posed shots. The goal is authenticity with polish, not perfection.
Real staff headshots with consistent backgrounds and matching lighting create a cohesive team page that reads as trustworthy. Every provider should be photographed in the same location, with the same lighting setup, on the same day when possible. Inconsistency in backgrounds or color temperature signals a disorganized practice.
"Real, imperfect moments in staff photography outperform overly polished, posed images in building patient trust. Patients respond to faces that look like the people they will actually meet."
Mapping photo shoots to the patient journey creates a narrative flow that helps patients visualize their visit before they arrive. Start with the exterior and parking, move to the reception desk, then the waiting area, then a treatment room. That sequence mirrors the patient's actual experience and reduces appointment anxiety.
- Photograph real staff in real interactions, not staged poses
- Include the waiting area, reception desk, and at least one treatment room
- Capture candid moments: a provider reviewing a chart, a front desk team member greeting someone
- Avoid stock photos of models in scrubs or generic hospital hallways
- Show actual equipment your practice uses, not aspirational props
3. What are best practices for scheduling and consent during photo sessions?
Scheduling is where most practices lose time and money. A poorly timed shoot disrupts patient flow, frustrates staff, and produces rushed images that show it. The fix is simple: schedule during administrative blocks or off-hours.
Individual provider headshots take 15–20 minutes per person when the session is well-organized. A mid-sized practice covering lighting setup, portraits, and environment shots typically requires 4–8 hours total. Blocking that time during a low-volume morning or a half-day closure protects revenue and keeps staff relaxed.
Consent is non-negotiable. Every staff member and any patient who appears in a photo must provide explicit, documented written consent before the session begins. HIPAA compliance requires that no identifiable patient information or likeness is captured without authorization. Build your consent forms in advance and have your practice manager collect signatures before the photographer arrives.
- Identify two or three low-volume time blocks in the month ahead
- Coordinate with clinical and marketing leadership for final approval
- Distribute written consent forms to all staff at least one week before the shoot
- Brief the photographer on HIPAA requirements and restricted areas before the session
- Assign one staff member as the day-of coordinator to manage timing and access
Pro Tip: Create a shot list organized by physical location in your practice, not by subject. Moving the photographer from room to room wastes time. Photograph everything in one room before moving to the next.
4. How to create a consistent visual style across your medical website
Consistency is what separates a professional medical website from a collection of decent photos. Patients notice when headshots look like they came from three different decades and two different countries. Brand alignment in photography means every image feels like it belongs to the same family.
Using a consistent aperture of approximately f/8 maintains proper depth of field across all portraits and environment shots. This keeps subjects sharp while softening distracting backgrounds just enough to focus attention without creating an artificial blur effect.
Color temperature alignment is equally critical. Set your white balance to match your brand palette. If your website uses warm neutrals, your lighting should produce warm neutrals. A mismatch between your site's color scheme and your photos creates visual friction that patients feel even if they cannot name it.
Working repeatedly with the same photography team reduces briefing time and builds a consistent visual library over time. A photographer who has shot your practice twice already knows your spaces, your staff's comfort level, and your preferred angles. That knowledge shows in the final images.
Establishing a dedicated "content corner" in your practice is one of the most underused tactics in healthcare photography. Pick one well-lit spot with a clean, branded background and use it for all ongoing headshots, social media content, and directory profile photos. The consistency across platforms strengthens your E-E-A-T signals, which Google uses to assess your site's authority.
Consistent photo style across platforms creates a unified brand story that reinforces Experience, Expertise, Authoritativeness, and Trustworthiness. That matters for both patient perception and search rankings.
| Element | Inconsistent approach | Consistent approach |
|---|---|---|
| Aperture | Varies per shot | Fixed at f/8 across all portraits |
| White balance | Mixed color temperatures | Matched to brand palette |
| Background | Different rooms and colors | Same backdrop or content corner |
| Lighting setup | Changed per session | Documented and replicated |
| Photography team | New vendor each year | Same team, recurring sessions |
5. When to choose professional photography over DIY or stock options
Smartphone cameras have improved dramatically, but they cannot replace a professional photographer for medical websites. The gap is not megapixels. It is direction, lighting control, and the ability to put subjects at ease.
Professional headshots increase patient trust and appointment conversions by creating a credible, cohesive online presence. Custom images convert 35–40% better than stock photos. That conversion lift alone justifies the investment for most practices.
A professional photographer acts as a director. They position subjects, coach expressions, and capture the natural moments that make a provider look approachable rather than stiff. Staff who feel self-conscious in front of a camera produce better results with a skilled photographer guiding them than they ever would with a colleague holding a phone.
Stock photos carry a specific risk that DIY photography does not: patients recognize them. A smiling model in scrubs who appears on three other local practice websites destroys credibility instantly. For a healthcare website image selection guide that covers technical selection criteria in depth, the core rule is simple: real beats perfect every time.
- Invest in professional photography for all provider headshots and primary environment shots
- Use smartphone photography only for time-sensitive social media content between professional sessions
- Never use stock photos for team pages, about pages, or homepage hero images
- Budget for at least one professional session per year, with a mid-year refresh for new staff
- Repurpose professional images across your website, Google Business Profile, and directory listings
6. How to integrate photography into your broader medical website design
Photography does not exist in isolation on a medical website. Its impact depends entirely on how the design frames it. A great photo placed in a poorly designed layout loses most of its power.
Patient journey mapping in photography works best when the website design mirrors that same sequence. Your homepage hero image should show a welcoming entry point. Interior pages should show the relevant clinical environment. The design and the photography should tell the same story in the same order.
For practices building or rebuilding their sites, understanding what medical website design involves helps you brief both your photographer and your designer at the same time. Knowing your page layouts before the shoot means you can capture images in the correct orientation, at the correct resolution, and with the correct focal points for each placement.
Before-and-after galleries require their own photography protocol. Consistent lighting, consistent camera distance, and consistent patient positioning across before and after shots are non-negotiable for clinical credibility. A before-and-after gallery setup guide covers the specific technical requirements for showcasing clinical results effectively.
Key Takeaways
Effective medical website photography requires authentic imagery, controlled lighting with a CRI above 90, consistent style across all platforms, and documented consent for every subject.
| Point | Details |
|---|---|
| CRI above 90 is non-negotiable | High-CRI lighting accurately renders skin tones and builds patient confidence in your practice. |
| Real photos outperform stock | Custom images convert significantly better than stock photos, which patients recognize and distrust. |
| Schedule during off-hours | Booking shoots in low-volume blocks protects revenue and keeps staff relaxed for better results. |
| Consistency builds brand authority | Same aperture, white balance, and photography team across sessions strengthens E-E-A-T signals. |
| Consent must be documented | Written HIPAA-compliant consent from every subject is required before any session begins. |
What I've learned from watching practices get photography right and wrong
The practices that get the most out of their photography investment treat it as an ongoing commitment, not a one-time task. I have seen beautifully shot websites go stale within 18 months because the practice hired a new provider, remodeled a waiting room, or simply grew, and the photos never caught up. The website started lying about what the practice actually looked like.
The other mistake I see constantly is prioritizing polish over truth. A practice will spend money on a photographer who delivers images that look like a luxury hotel brochure. The lighting is perfect. The smiles are perfect. And patients arrive expecting one thing and find something completely different. That gap erodes trust faster than a bad photo ever would.
The practices I respect most treat photography the way they treat continuing education. They schedule it regularly, they brief their team in advance, and they build a growing visual library that reflects where the practice actually is right now. They also connect their photography directly to their website design so the two reinforce each other instead of working against each other.
My honest recommendation: start with your team page and your homepage hero image. Get those two things right with a professional photographer, and you will see the difference in patient inquiries within weeks. Then build from there, one session at a time.
— Kate
How Epdwebsites helps medical practices make photography work on the web
Great photography needs a great home. Epdwebsites has built professional websites for medical practices since 2009, and the team knows exactly how to frame, place, and display clinical photography for maximum patient impact.

Every custom medical website Epdwebsites designs is built to showcase your photography at full quality, with layouts that guide patients through your visual story from homepage to contact form. The team handles image selection, layout alignment, and brand consistency so your photos do the work they were shot to do. If you need to add new staff headshots or update your environment photos after a renovation, the site update process is straightforward and fast. Medical professionals in Glendale, AZ, and across the country trust Epdwebsites to keep their online presence current, credible, and patient-ready.
FAQ
What lighting standard applies to medical website photography?
A Color Rendering Index of 90 or above is the professional standard for medical photography. It accurately renders skin tones and clinical detail, which builds patient trust and improves marketing outcomes.
How long does a medical practice photo session take?
Individual provider headshots take 15–20 minutes per person. A full session covering portraits and environment shots for a mid-sized practice typically runs 4–8 hours.
Should medical practices use stock photos on their websites?
Stock photos reduce credibility because patients recognize them. Custom images convert significantly better and accurately represent the actual team and environment patients will encounter.
What consent is required before photographing medical staff or patients?
Every subject requires explicit, documented written consent before photography begins. Any session involving identifiable patients must comply with HIPAA confidentiality requirements.
How often should a medical practice update its website photography?
Professional photography sessions should occur at least once per year, with a mid-year refresh when new providers join or significant changes to the practice environment occur.